Serial Port VMware Passthrough: Exploring VMware Remote Connection Solutions
Now, let’s find out how to enable serial port passthrough via various VMware solutions - VMware vSphere, VMware Horizon, and VMware Workstation Pro. These products allow remote desktops and VMs to easily connect with physical serial devices.
The method to handle serial communication differs for each product, addressing problems such as remote access, configuration, and device compatibility. Here are the steps for each VMware solution:
VMware vSphere Serial Port Passthrough
VMware vSphere offers serial port passthrough and is best suitable for enterprises to meet their virtualization needs. Virtual machines running on ESXi hosts can easily interact with physical serial devices using this solution. VMware ESXi serial port passthrough is handy in maintaining legacy systems or hardware.
How to Configure Serial Port in VMware vSphere
Prerequisites
- Before you configure a VMware serial port over a network, power off the virtual machine.
- Ensure a physical serial port is available on the ESXi host.
- Configure firewall rules properly when establishing a connection over a network.
Here’s how to enable VMware vSphere serial port passthrough step-by-step:
- Right-click on the VM and choose “Edit Settings” in the vSphere client.
- Click on “Add New Device” and then choose the option “Serial Port” in the tab “Virtual Hardware”.
- Select the type of connection:
- Network: This connection type is used to redirect a serial over a network VMware via TCP/IP.
- Physical serial port: It directly connects to the serial port of a host machine.
- Named pipe: It’s used to establish communication between a VM and a host or between two VMs.
- Output File: On the host machine, this connection type is used to redirect VMware serial communication to a file.
- Finalize the settings by clicking on “OK”.
Note:
- To enable passthrough, VMware vSphere supports serial ports integrated into the ESXi host’s motherboard.
- VMware vSphere doesn’t support USB-connected serial port passthrough from ESXi hosts to VMs.
- Serial port passthrough in VMware vSphere doesn’t support VM migration via vMotion.
If your enterprise environment has VMs running on ESXi hosts and the VMs must access physical serial ports, choosing VMware vSphere is more suitable for you. It allows you to access serial ports in VMware directly in the centralized data centers, solving compatibility and latency issues.
This is why a physical serial port passthrough VMware vSphere is an ideal solution for organizations with legacy systems relying on on-premise, stable hardware. It’s also suitable for data centers.
VMware Workstation Serial Port Passthrough
VMware Workstation Pro is a robust desktop virtualization tool that you can use to run various virtual machines on a local computer. To use serial communication tools on VMs or connect legacy devices, you can enable the serial device passthrough VMware Workstation functionality.
How to Enable VMware Workstation Pro Serial Port Setup
Prerequisites
- Power off the virtual machine.
- Ensure the host machine has virtual interfaces such as named pipes or a physical serial port available.
Adding and configuring serial ports in VMware Workstation works in the following way:
- In VMware Workstation Pro, choose the VM. Go to VM and then to “Settings”.
- Click on “Add". From the tab “Hardware”, choose “Serial Port”.
- Choose the type of connection you want to establish:
- Named pipe: Two VMs or a VM and a host can interact using this connection type.
- Physical serial port: On the host machine, it connects to a physical port.
- Output file: It’s used to enable serial port redirection VMware to a file.
- Apply the changes by clicking on “OK”.
If you’re a developer or individual user who uses legacy systems on VMs that run locally or need serial port passthrough for debugging purposes, VMware Workstation Pro is the best solution for you.
Eliminating compatibility issues and improving latency, VMware Workstation serial COM port passthrough works excellently in smaller environments, such as workstations or development labs, where you need local and direct communication.
VMware Horizon Serial Port Passthrough
VMware Horizon is an advanced, easy-to-use virtual desktop infrastructure (VDI) solution. Using serial devices with VMware Horizon allows you to remotely access applications and desktops. The serial port redirection VMware Horizon function lets you access serial devices that are locally connected to their remote virtual desktops.
How Does VMware Horizon Serial Device Redirection Work?
VMware Horizon serial port redirection is used to map the local computer’s COM ports to the remote desktop’s COM ports. For serial port redirection to work, the COM ports on two machines are used to communicate with remote applications. VMware Horizon serial port passthrough doesn’t even require you to install additional drivers on the remote machine.
How to Perform VMware Horizon Serial Port Passthrough
Requirements
- Keep VMware Horizon Agent installed on your remote machine.
- Install VMware Horizon Client on the local computer connected to the serial port.
- Ensure the serial port is physically attached to the local computer.
Here’s how to configure serial ports in VMware Horizon:
- Download and install the VMware Horizon Agent on your remote device and enable serial port redirection.
- Create a new session in the VMware Horizon Client. Next, map the local COM ports to your remote machine using the tray icon “Serial Port Tool”.
- If you want to control which COM ports are used for redirection, configure group policies.
How to Manage Serial Port Redirection
If you’re an administrator who wants to allow or restrict users to access a specific serial port, do this using group policies. In addition, users can view active COM ports in a session and manage them easily using the Serial Port Tool.
VMware Horizon 7 is designed for remote desktop environments, allowing you to easily access physically connected serial devices on your virtual desktops. VMware Horizon serial device redirection addresses compatibility and remote access challenges associated with directly connected hardware, making it an ideal solution in VDI setups.
Final Thoughts
VMware is a powerful virtualization platform with multiple native solutions - vSphere, Workstation Pro, and Horizon 7 - to enable serial port passthrough. Each of these solutions is suitable for different use cases.
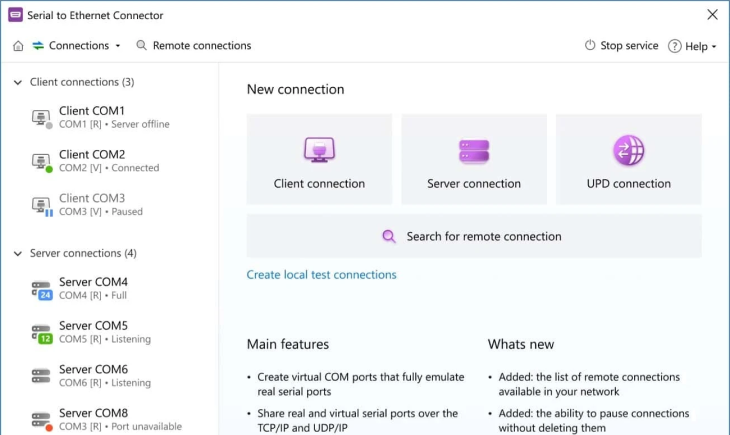
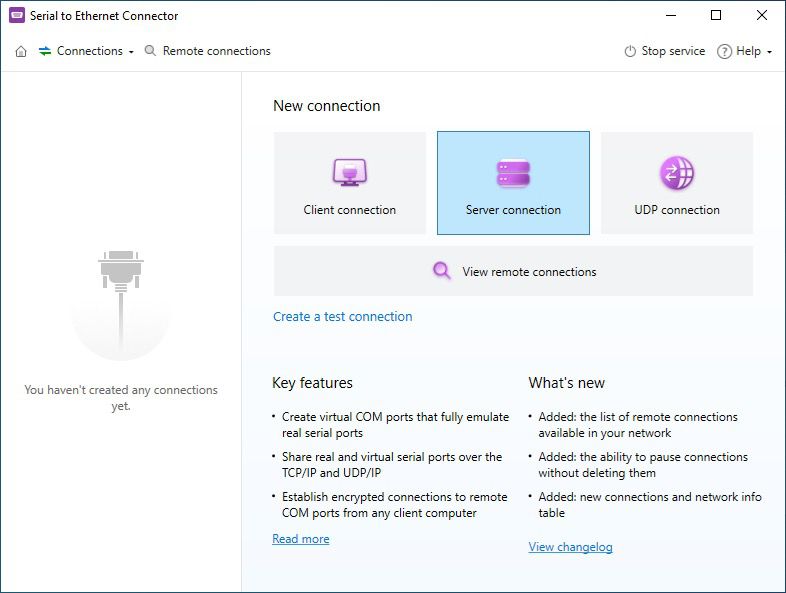
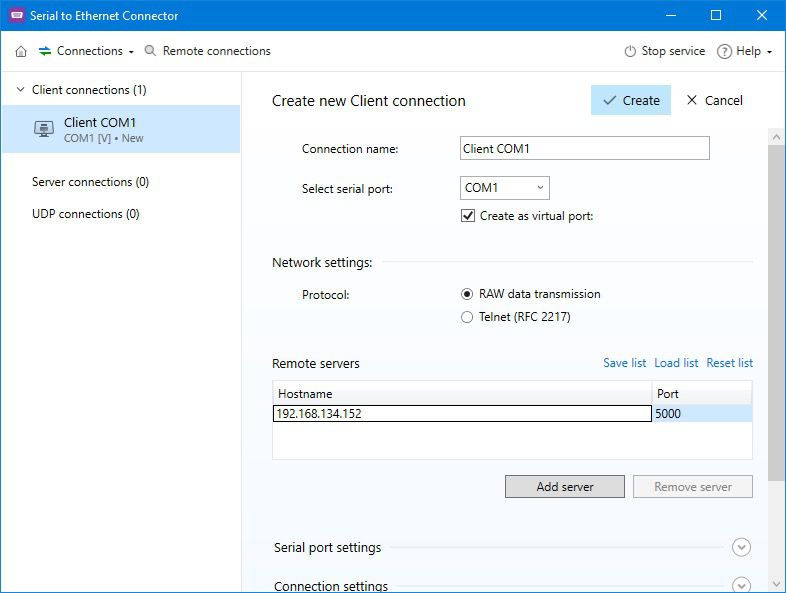
However, if you work in an environment where you need greater scalability, flexibility, and effortless remote access capability, Serial to Ethernet Connector is an excellent alternative.
So, when choosing the best serial port passthrough solution, assess your virtualization needs and consider the challenges of each solution. It will help you make the most of your virtualization solution while allowing you to integrate serial devices across VMware virtual environments with reliability.


